Hi All
Sometimes this Blog is a bit like an internet magazine, more space to dedicate and easier to publish, and as such I would like to offer an article for weathering an Austrains DL class into a proper AN era desert runner.
 |
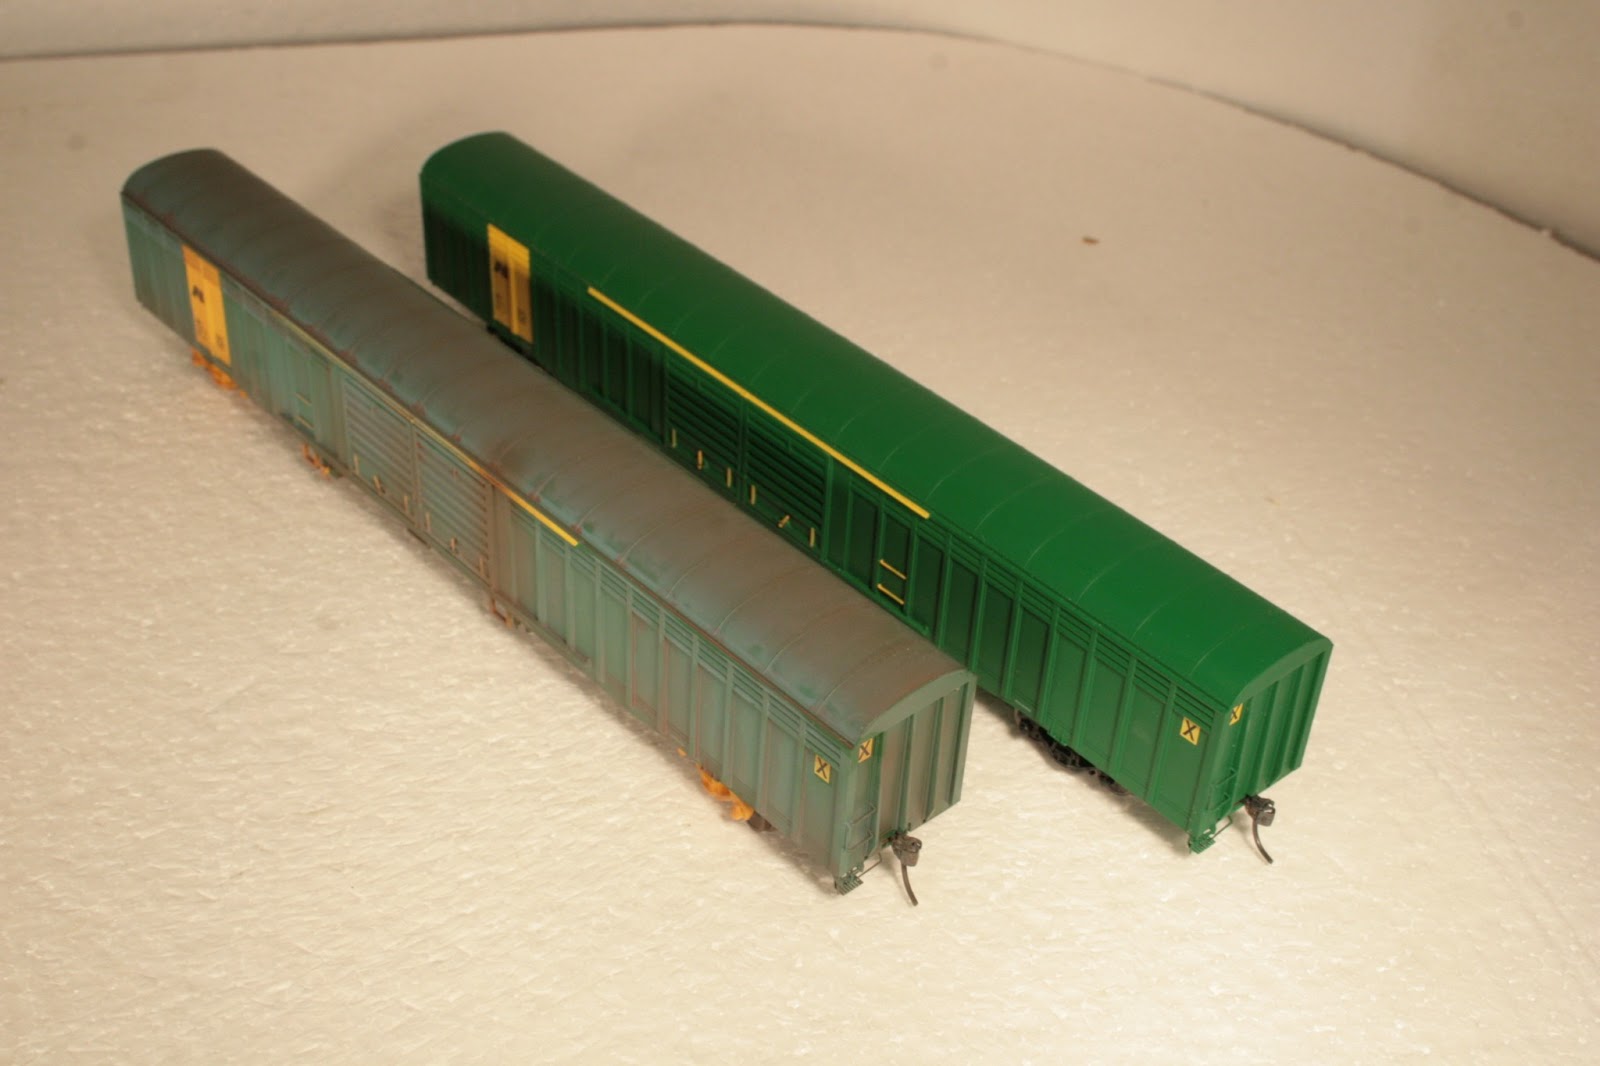
| Here is the finished product, ready to blast across your desert layout, with a string of TOFC. |
 |
| The original Austrains DL is on the right, the weathered one is on the left. |
The first step in this process is to remove the body from the mechanism, compared to other manufactures arrangement, the DL is easy,
- Turn the model upside down on a piece of foam.
- Remove the coupler screws, and remove the couplers and pockets.
- Place four small instrument screw drivers between the body and the frame, around the area of the fuel tank.
- With the screw drivers in place lift the mechanism away from the shell.
- With body upside down, pry up the black housing which holds the LED for the A end headlight, this should just pop out.
- Remove the cab side window glass from both sides, then remove the windscreen glass.
- Retain the window glass, couplers and headlight housing and then temporarily reassemble the locomotive, without these items.
Now we can get down to the details.
 |
| The little details first, using a wash of Humbrol matt black, wash down the Air condtioner grilles and body joint lines. This will give the model definition. |
 |
Using a silver paint pen, paint the windcreen seals, and windscreen wiper blades.
Paint the uncoupler lift bar, yellow, again a paint pen will do the trick.
Paint the inside of the five chime airhorn green. |
 |
Turning to the B end, paint the edge between the yellow B end and the grey roof with a thin line of Green.
Also paint the coupler lift bar Green. |
 |
| Wash the bogies with Humbrol matt black. |
 |
| Compare the this shot from the one above, even in this early stages the details realy start to pop out. |
 |
| The mansard roof sections need to be painted Humbrol 64 grey, the difference between is obvious. |
 |
The foot access holes in the nose and in the mansard section of the roof need to be painted yellow,
As do the door handrails again a paint pen will do the trick.
the recessed sections behind the frame need to be painted matt black.
With a permanent black marker paint out the bogie frame holders.
Compare with the shot below. |
 |
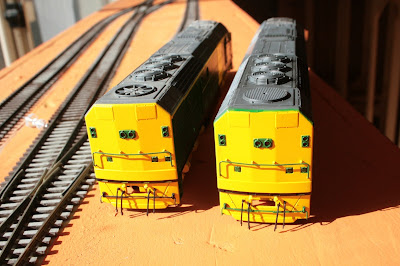
| The modified model is top left, note the difference in detail and hue. The middle section of the roof and fans was washed with matt Black. |
 |
Grind up some chalks, deep red, yellow and dark grey, with a flat wide brush , rub the mixture onto the bogies, and them to a lesser extent the body sides, and roof. The nose will also need a vigorous application.
At this point every thing has not quite gone together, we need to mix all these colours in together. |
I use Acuflex acrilic paints for the final details, just so easy to work with.
Mix up a road grime colour using rail brown as a base, a Milwaukee orange, and a bit of grimy black until you have the right shade of desert grime.
Spray the nose and middle section of the roof lightly.
Heavy on the bogies, and cowcatchers.
With straight grime black, spray the bogies again, and feather away from the exhaust, this is very prominent, so this angle of exhaust trail has to be spot on, also on a downward angle, on the B end.
Final colour is Engine Black, run this from the exhaust as per the grimy black.
Finally spray the entire model with matt clear, be light as a heavy coating will turn semi gloss.
This will pull all those colours in and produce the model you are after.
Disassemble the model, put the glass back in place, side windows first, then the windscreen.
Put the light housing back in place.
Add the DCC chip of your choice.
Put the body back on the frame, add Kades No. 5s "because they work every time"
Now your DL is ready to start desert running and looks the part!
Here is some more comparison shots to get your creative side going.
 |
| Here is the end result on the roof not the spread of the exhaust and the Humbrol 64 lifts the roof colour. |
 |
| Both B ends |
I hope I have inspired someone to give this a go.
Enjoy
Scott